How to Build an Expo Native Module with Kotlin for Android
By Usama Kashif - frontend engineer and product builder sharing practical product, UX, and engineering experience.
When I was building ScrollStop, I needed users to choose which distracting apps should be blocked during a focus session.
That sounds like a normal list screen. It was not.
React Native can render the list beautifully, but JavaScript does not get a built-in way to ask Android, “which apps can this person launch on their phone?” That information lives behind Android’s native APIs.
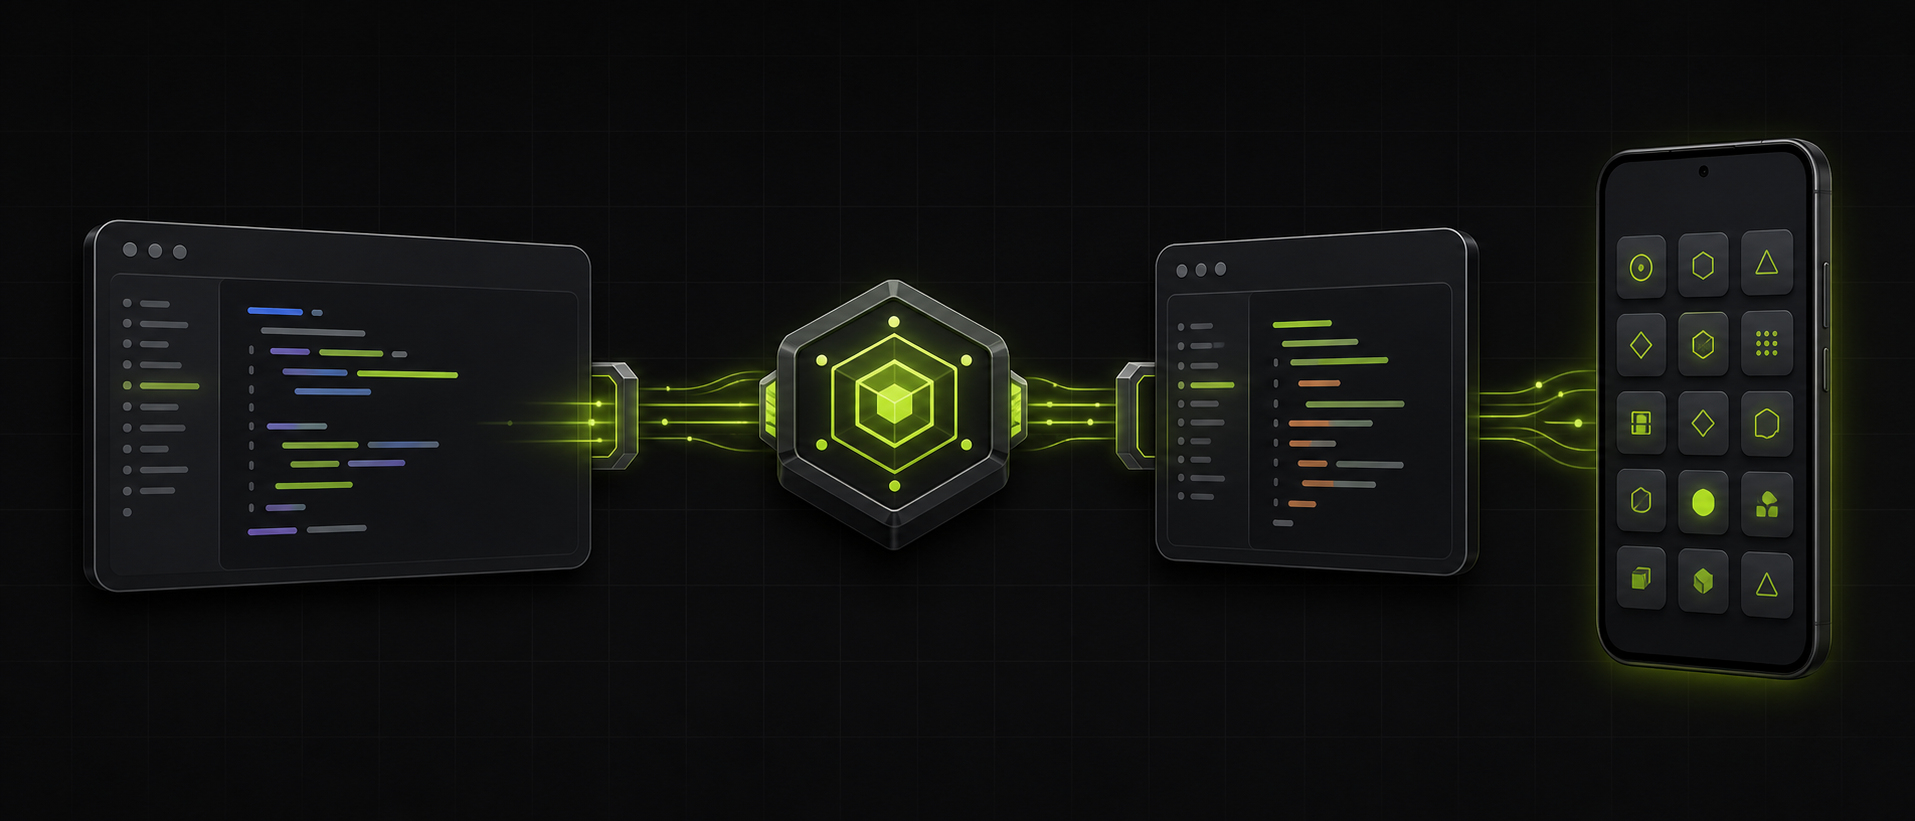
This is where a local Expo module fits. Instead of abandoning Expo or rewriting the app in Kotlin, I wrote a small native bridge: TypeScript asks one focused question, Kotlin talks to Android, and the app receives a tidy list it can render.
This article walks through that pattern in plain English. The code is a simplified version of the installed-apps feature behind ScrollStop, so you can adapt it to your own Android-first Expo app.
The short version
Use an Expo native module when your app needs a platform capability that is not already exposed by Expo, React Native, or a well-maintained library.
For ScrollStop, the flow looked like this:
React Native screen
        ↓
TypeScript wrapper
        ↓
Expo Modules API
        ↓
Kotlin
        ↓
Android PackageManager
The important part is the boundary. The React Native app does not need to know how Android finds apps. It only needs a function that returns data it understands.
When React Native needs native code
Most of the time, Expo and React Native are enough. That is the point: you should be able to spend most of your time in TypeScript.
But you will eventually meet a feature that sits below that layer. Maybe it is an Android system API, an iOS framework, a hardware SDK, or a native library with no React Native wrapper.
That is the point where a native module becomes useful.
For ScrollStop, the native requirement was specific:
- find the apps a user can choose to block;
- return an app label and package name to the React Native UI;
- keep the Android-specific work out of the rest of the product.
The same approach works for many other cases: wrapping a vendor SDK, exposing a missing device capability, listening to a platform event, or building a native view that React Native does not provide.
Before writing native code, check three things:
- Does Expo already have the API?
- Is there a maintained library that genuinely fits the requirement?
- Is the missing platform capability central enough to justify a small bridge?
If the answer to the last question is yes, keep the bridge narrow. A good native module exposes a small, deliberate contract instead of becoming a second app hidden inside your app.
Why I used a local Expo module
Expo gives you two sensible ways to structure a module:
- A local module lives inside one app. Use it when the code belongs only to that product.
- A standalone module is a reusable package. Use it when you want to publish it, share it between apps, or maintain it in a monorepo.
ScrollStop needed the first option. The installed-app picker is product-specific, so keeping it close to the app was simpler than turning it into an npm package.
Expo automatically discovers local modules through autolinking. In practice, that means you write the module under your app’s modules/ directory and Expo wires it into the native build.
Create the module
From the root of your Expo app, create an Android local module:
npx create-expo-module@latest installed-apps \
  --local \
  --platform android \
  --features AsyncFunction
The generated folder gives you a home for the native Kotlin implementation, the TypeScript wrapper, and Expo’s module configuration:
modules/installed-apps/
├── android/
│   └── src/main/java/expo/modules/installedapps/
│       └── InstalledAppsModule.kt
├── src/
│   └── InstalledAppsModule.ts
└── expo-module.config.json
The scaffold is useful because it gives Expo the module name and registration details it needs. You should not have to manually link a local module like older React Native setups often required.
Write the Kotlin side
Android’s PackageManager is the system service that knows about installed packages and activities. For an app picker, I prefer asking for launchable apps instead of treating every package on the device as a useful choice. A launcher intent gives us that narrower list.
Here is the simplified native module:
package expo.modules.installedapps

import android.content.Intent
import expo.modules.kotlin.modules.Module
import expo.modules.kotlin.modules.ModuleDefinition

class InstalledAppsModule : Module() {
  override fun definition() = ModuleDefinition {
    Name("InstalledApps")

    AsyncFunction("getInstalledApps") {
      val context = appContext.reactContext
        ?: throw IllegalStateException("React context is not available")
      val packageManager = context.packageManager

      val launcherIntent = Intent(Intent.ACTION_MAIN).apply {
        addCategory(Intent.CATEGORY_LAUNCHER)
      }

      @Suppress("DEPRECATION")
      val apps = packageManager.queryIntentActivities(
        launcherIntent,
        0
      )

      apps
        .map { resolveInfo ->
          mapOf(
            "label" to resolveInfo.loadLabel(packageManager).toString(),
            "packageName" to resolveInfo.activityInfo.packageName,
          )
        }
        .filter { app -> app["packageName"] != context.packageName }
        .sortedBy { app -> app["label"]?.lowercase() }
    }
  }
}
There are two deliberate choices here.
First, this is an AsyncFunction. Querying and shaping a list does not need to block the JavaScript thread, and Expo turns the result into a promise for us.
Second, the module returns plain strings in a small map. Native code stays responsible for talking to Android; TypeScript receives only the data the UI needs.
Your product may need more fields, such as an icon or whether an app is a system app. Add them only when the JavaScript side has a real reason to use them.
Give TypeScript a clean API
Do not let React components call an untyped native object everywhere. Put a small typed wrapper in front of it instead.
import { requireNativeModule } from 'expo';

export type InstalledApp = {
  label: string;
  packageName: string;
};

type InstalledAppsNativeModule = {
  getInstalledApps(): Promise<InstalledApp[]>;
};

const InstalledAppsModule =
  requireNativeModule<InstalledAppsNativeModule>('InstalledApps');

export function getInstalledApps() {
  return InstalledAppsModule.getInstalledApps();
}
Now the rest of your app only imports getInstalledApps(). It does not need to know the Kotlin class name, how autolinking works, or which Android API produced the data.
Use it in a React Native screen
The UI can now treat the result like any other async data source:
import { useEffect, useState } from 'react';
import { Text, View } from 'react-native';
import {
  getInstalledApps,
  type InstalledApp,
} from '@/modules/installed-apps/src/InstalledAppsModule';

export function AppPicker() {
  const [apps, setApps] = useState<InstalledApp[]>([]);
  const [error, setError] = useState<string | null>(null);

  useEffect(() => {
    getInstalledApps()
      .then(setApps)
      .catch(() => setError('Could not load installed apps.'));
  }, []);

  if (error) return <Text>{error}</Text>;

  return (
    <View>
      {apps.map((app) => (
        <Text key={app.packageName}>{app.label}</Text>
      ))}
    </View>
  );
}
In ScrollStop, that list feeds the app-selection step in a Focus Plan. The user chooses the apps that break their focus, and the rest of the product stores those package names as part of the plan.
The Android package-visibility catch
This is the part worth understanding before you ship.
On Android 11 and later, Android filters what apps can see about other installed apps. That includes APIs such as queryIntentActivities() and getInstalledApplications(). It is a privacy measure: an installed-app inventory can reveal a lot about a person.
Your module may need to declare package visibility in its Android manifest. The least-broad solution is usually best. If you only need to discover particular known apps, declare those targeted queries. If you truly need broad visibility, Android provides QUERY_ALL_PACKAGES.
That permission is not a casual checkbox. Google Play considers an installed-app inventory personal and sensitive information. Broad visibility must be necessary for a prominent, user-facing core feature, it may need a Play Console declaration, and it is subject to review. Do not add it simply because it makes a test list look more complete.
For an app like ScrollStop, this means being clear about why users are selecting apps, keeping that data on-device where possible, and requesting only the visibility the feature genuinely requires.
Useful references:
Why this does not work in Expo Go
Expo Go is a prebuilt app with a fixed set of native modules. Your new Kotlin file is not inside it.
That does not mean you need to leave Expo. It means you need your own development build, which contains your app’s native code:
npx expo prebuild
npx expo run:android
Use npx expo start for the JavaScript development server after the app is built. When you change TypeScript, Fast Refresh can usually update the app. When you change Kotlin, module configuration, or an Android manifest, rebuild the native app.
That difference trips up almost everyone once: JavaScript can be refreshed; native code has to be compiled into the app.
Common problems
“Cannot find native module ‘InstalledApps’”
Usually one of these is true:
- You are opening the project in Expo Go instead of your development build.
- The string in
Name("InstalledApps")does not matchrequireNativeModule('InstalledApps'). - You added or changed native code but did not rebuild the Android app.
- The Kotlin class path in
expo-module.config.jsondoes not match the real package and class name. - Autolinking or prebuild did not complete successfully.
Start by checking the name in all three places: Kotlin, the Expo module configuration, and TypeScript. Then rebuild.
The app list is incomplete
Assume package visibility is the reason until you prove otherwise. Android may be filtering results by design. Review the API you are querying and choose the smallest visibility declaration that supports the feature.
A change disappeared after prebuild
If your Expo project uses Continuous Native Generation, direct edits in the generated android/ folder can be replaced by the next prebuild. Keep reusable module configuration in the module itself, and use a config plugin when a project-level native configuration change needs to survive regeneration.
What I learned from ScrollStop
Writing native code for one capability did not make ScrollStop a “native app instead of an Expo app.” It made the app more honest about where each job belongs.
React Native is still responsible for the experience: screens, state, selections, plans, and the product logic users feel. Kotlin is responsible for the one Android conversation React Native cannot have by itself.
That is the sweet spot for a local Expo module: one small bridge, one clear contract, and no unnecessary native surface area.
If you are building an Android-first React Native product that needs one missing platform capability, do not treat that as a reason to throw away Expo. Start with a focused local module, make the TypeScript boundary clean, and let each layer do the work it is best at.
Frequently asked questions
Can Expo apps use custom native code?
Do Expo native modules work in Expo Go?
Do I need to eject from Expo to write a native module?
What is the difference between a local Expo module and a standalone Expo module?
Can a React Native app read installed apps on Android?
Do I need to rebuild after changing a native module?
Can the same Expo module support iOS?
ScrollStop is an Android focus app built around one simple idea: choose the distractions, start a Focus Plan, and protect the time you meant to use well.
block distractions. protect your focus.
ScrollStop is an Android app blocker for students who want to protect study, work, exam, and sleep sessions without another subscription.
More Posts

Why I Shut Down My Startup: Lessons From Failing Ravah
I shut down Ravah after ~100 waitlist signups but no product-market fit. Lessons on waitlist validation, scope creep, and when to stop building.
How We Built a Tracked Email Funnel with PostHog + Supabase
Connect PostHog and Supabase to track transactional email from send to onboarding. Resend webhooks, Edge Functions, and a PostHog funnel — without a drip tool.

