How I Fixed Google's Red Warning on Supabase Password Reset Links
By Usama Kashif - frontend engineer and product builder sharing practical product, UX, and engineering experience.
If your Supabase password reset link is not working and users hit Google’s red “Deceptive site ahead” page, the link is often valid — Safe Browsing is flagging the shared *.supabase.co auth URL. The fix is to route recovery links through a Cloudflare Worker on your own domain, verify the token_hash server-side, then redirect into your app. No paid Supabase plan required.
I hit this while building on Supabase’s free tier. Users who already forgot their password suddenly could not reset it. Here is the full setup.
The Problem: Why Google Doesn’t Trust Supabase URLs
Supabase generates password reset links that look something like this:
https://your-project.supabase.co/auth/v1/verify?token=...&type=recoveryOn the free tier, these links sometimes get flagged by Google Safe Browsing. Why? Because they’re:
- Generic domain patterns that bad actors also use
- Direct authentication endpoints (which can look suspicious)
- Shared infrastructure across thousands of projects
Google’s being protective, which is great for security overall—just not great for your user experience.
Supabase Password Reset Link Not Working? Check for This Warning First
Before you rewrite email templates or rotate keys, confirm what users actually see:
- They open the reset email and tap the link
- Chrome (or another Safe Browsing client) shows Deceptive site ahead
- They never reach your
/new-password(or similar) page
That pattern is a trust/domain problem, not a broken token. The Worker approach below fixes it by keeping Supabase for verification while putting your hostname in the email.
The Fix: A Cloudflare Worker as Your Trusted Middleman
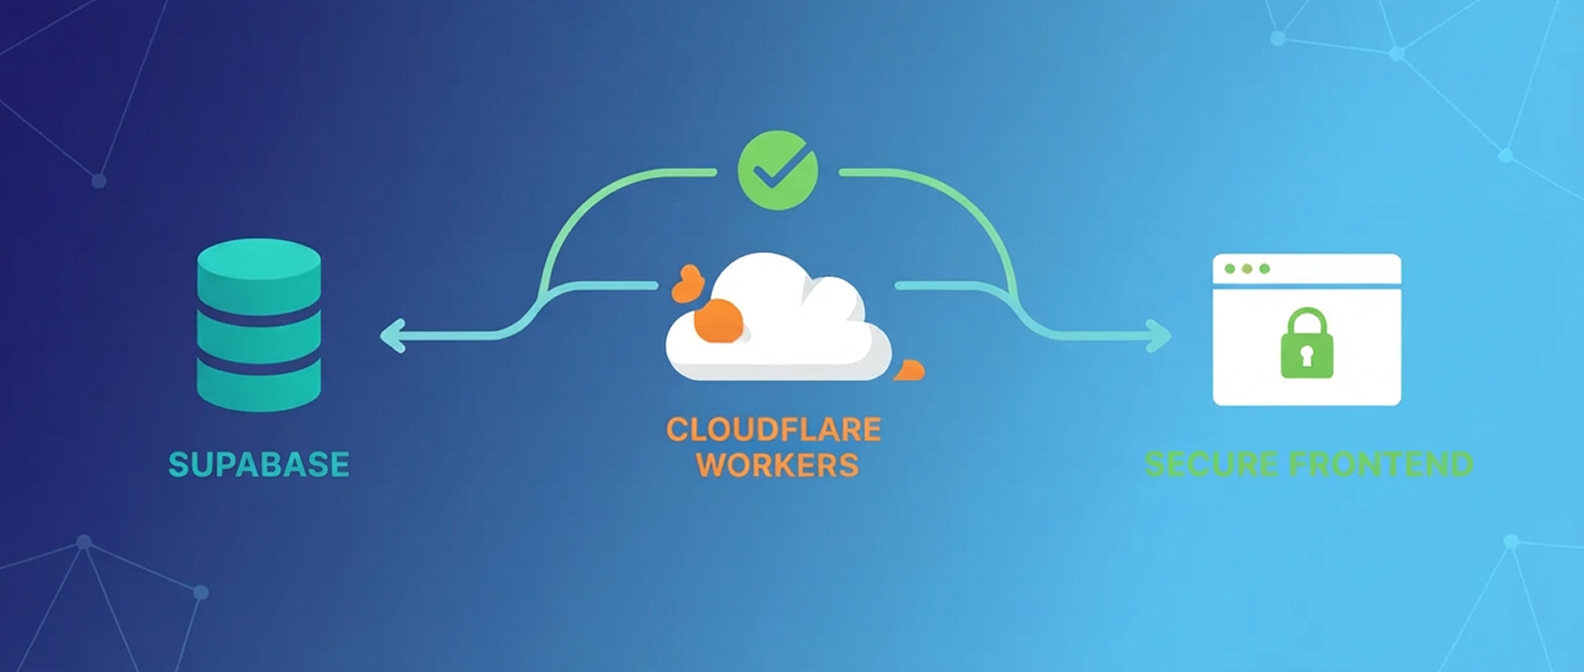
Instead of sending users directly to Supabase’s URL, I built a tiny Cloudflare Worker that acts as a trusted bridge. Think of it as a friendly translator between Supabase and your app.
Here’s the flow:
- User clicks the reset link (now pointing to your domain via Cloudflare)
- Worker receives the token securely
- Worker verifies it with Supabase behind the scenes
- Worker creates a session and redirects to your app
- User lands safely on your password reset page
No warnings. No scared users. Just a smooth experience.
Setting It Up
Step 1: Create Your Cloudflare Worker
Head over to your Cloudflare dashboard and create a new Worker. You can name it something like supabase-auth-handler or whatever makes sense for your project.
Once created, replace the default code with this:
import { createClient } from "@supabase/supabase-js";

export interface Env {
  CLIENT_URL: string;
  SUPABASE_URL: string;
  SUPABASE_ANON_KEY: string;
}

export default {
  async fetch(request, env, ctx): Promise<Response> {
    if (request.method !== "GET") {
      return new Response("Method not allowed", { status: 405 });
    }

    const url = new URL(request.url);
    const token_hash = url.searchParams.get("token_hash");
    const type = url.searchParams.get("type");
    const next = url.searchParams.get("next") || "/";

    if (!token_hash || !type) {
      return Response.redirect(
        `${env.CLIENT_URL}/auth/error?error=${encodeURIComponent("Missing token or type")}`,
        302
      );
    }

    // Validate type is a recovery type
    if (type !== "recovery" && type !== "email") {
      return Response.redirect(
        `${env.CLIENT_URL}/auth/error?error=${encodeURIComponent("Invalid type")}`,
        302
      );
    }

    try {
      const supabase = createClient(
        env.SUPABASE_URL,
        env.SUPABASE_ANON_KEY,
        {
          auth: {
            autoRefreshToken: false,
            persistSession: false,
          },
        }
      );

      // Verify the OTP token
      const { data, error } = await supabase.auth.verifyOtp({
        type,
        token_hash,
      });

      if (error) {
        console.error("Verification error:", error.message);
        return Response.redirect(
          `${env.CLIENT_URL}/auth/error?error=${encodeURIComponent(error.message)}`,
          302
        );
      }

      // Successfully verified - redirect to client with session tokens
      if (data?.session) {
        const redirectUrl = new URL(`${env.CLIENT_URL}/new-password`);
        redirectUrl.searchParams.set("access_token", data.session.access_token);
        redirectUrl.searchParams.set("refresh_token", data.session.refresh_token);
        redirectUrl.searchParams.set("next", next);

        return Response.redirect(redirectUrl.toString(), 302);
      }

      // No session returned
      return Response.redirect(
        `${env.CLIENT_URL}/auth/error?error=${encodeURIComponent("No session returned")}`,
        302
      );
    } catch (err) {
      console.error('Worker error:', err);
      return Response.redirect(
        `${env.CLIENT_URL}/auth/error?error=${encodeURIComponent('Internal server error')}`,
        302
      );
    }
  },
} satisfies ExportedHandler<Env>;
What’s happening here?
The worker is pretty straightforward. It grabs the token from the URL, validates it’s legit, then uses Supabase’s client to verify the token behind the scenes. If everything checks out, it creates a session and redirects the user to your app with the tokens they need.
Notice the persistSession: false part? That’s crucial because Cloudflare Workers are stateless—they don’t keep data between requests. We’re just doing a quick verification and passing the session along.
Step 2: Set Up Environment Variables
In your Worker settings, add these three environment variables:
CLIENT_URL- Your frontend URL (likehttps://yourdomain.com)SUPABASE_URL- From your Supabase project settingsSUPABASE_ANON_KEY- Your public anon key from Supabase
These keep your configuration flexible and secure. No hardcoding URLs.
Step 3: Update Your Supabase Email Template
Now head to your Supabase dashboard → Authentication → Email Templates → Reset Password.
Replace the existing link with this:
<h2>Reset Password</h2>

<p>Follow this link to reset the password for your user:</p>
<p>
  <a href="https://your-worker.workers.dev?token_hash={{ .TokenHash }}&type=recovery&next={{ .RedirectTo }}">
    Reset Password
  </a>
</p>
Make sure to replace your-worker.workers.dev with your actual Cloudflare Worker URL.
Those {{ .TokenHash }} and {{ .RedirectTo }} bits are Supabase’s template variables—they’ll automatically populate with the right values when the email goes out.
Step 4: Handle the Session on Your Frontend
When the worker redirects users to your /new-password page, it’ll include the session tokens in the URL. Here’s how to handle that in your frontend:
// In your password reset page component
const params = new URLSearchParams(window.location.search);
const accessToken = params.get('access_token');
const refreshToken = params.get('refresh_token');

if (accessToken && refreshToken) {
  // Set the session with Supabase
  await supabase.auth.setSession({
    access_token: accessToken,
    refresh_token: refreshToken,
  });

  // Now let the user set their new password
}
Once the session is set, users can update their password using Supabase’s standard updateUser method.
Why This Actually Works
The beauty of this approach is that you’re not changing how Supabase works or compromising security. You’re just adding a trusted layer that:
- Uses your domain (which isn’t flagged)
- Handles verification server-side (more secure anyway)
- Gives you control over the redirect flow
- Costs basically nothing (Cloudflare’s free tier is generous)
Plus, if you ever need to add logging, rate limiting, or custom validation, you’ve got a perfect place to do it.
The Setup Takes Ten Minutes
Seriously. Deploy the worker, update your email template, and test it. The entire process took me longer to troubleshoot than to implement once I figured out the pattern.
And your users? They’ll never know there was a problem in the first place. They’ll just experience a smooth, professional password reset flow like they should have from the beginning.
One Last Thing
If you’re building on Supabase’s free tier (and honestly, why wouldn’t you for early-stage projects?), this pattern is worth keeping in your back pocket. It’s not just about password resets—any time Supabase generates a verification link, you can apply the same approach.
Email confirmations, magic links, invite flows—they all benefit from having your own domain in front of them. Plus, you get better analytics and control over the entire auth flow.
Building MVPs means finding these practical solutions that don’t require upgrading plans or over-engineering. This one’s a keeper.
Implementation Checklist
Ready to fix those warnings? Track your progress here:
Fix Supabase Warnings
0% CompleteHaving auth headaches with your Supabase setup? I’ve been there. Feel free to reach out—I’m always down to talk through implementation details.
Frequently asked questions
Why does Google show 'Deceptive site ahead' on Supabase password reset links?
How do you fix a Supabase password reset link that is not working because of a Google warning?
Do I need a paid Supabase plan to fix the password reset warning?
Does this pattern work for magic links and email confirmations too?
Is it safe to put access and refresh tokens in the redirect URL?
block distractions. protect your focus.
ScrollStop is an Android app blocker for students who want to protect study, work, exam, and sleep sessions without another subscription.
More Posts

Why I Shut Down My Startup: Lessons From Failing Ravah
I shut down Ravah after ~100 waitlist signups but no product-market fit. Lessons on waitlist validation, scope creep, and when to stop building.

How to Build an Expo Native Module with Kotlin for Android
Learn when React Native needs native code and build a local Expo module in Kotlin, using ScrollStop's installed-app picker as a practical Android example.

